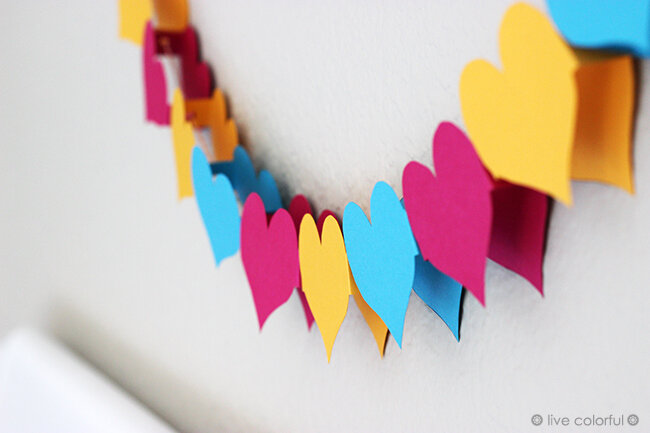
How to Make a 3D Paper Heart Garland
Ready to fill your home with a little love and color? Grab our free printable 3D heart template and get crafting! This fun and easy paper heart garland is the perfect Valentine's Day DIY craft.
The air is already buzzing with love, and what better way to celebrate than by filling our homes with color? This week, I’ve been daydreaming about new projects for the blog and thinking about how to bring some fun and festive vibes into every corner of the apartment. With Valentine's Day just around the corner, I couldn't resist.
So, I thought, what’s better than a garland of paper hearts? A garland of super colorful 3D paper hearts! This project is simple, joyful, and adds the perfect pop of handmade love to any space.

MATERIALS:
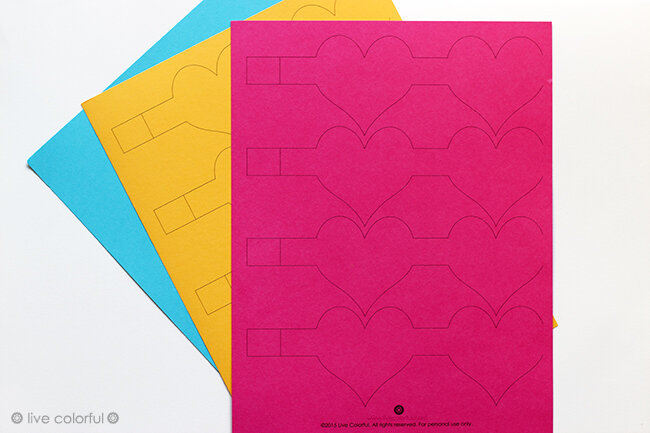
Printer and printable: You can choose to print a black and white version on colored paper, or the colorful one for a regular white sheet.
Colorful paper sheets: I love using a mix of vibrant colors to make the garland extra happy.
Scissors: A sharp pair of scissors will make cutting the hearts much easier.
Glue: A glue stick or a liquid craft glue works great.
Ribbon, string, or twine: Choose a material that complements your colors!
Hole punch: This will make clean, even holes for the ribbon.
Note: A few moths ago the site crashed and we lost all the PDF printables that we uploaded in the site. You can download the image below and use it for your projects. I’m sorry if it doesn’t have a great printing quality.
DOWNLOAD THE PRINTABLE CLICK THE IMAGE BELOW:
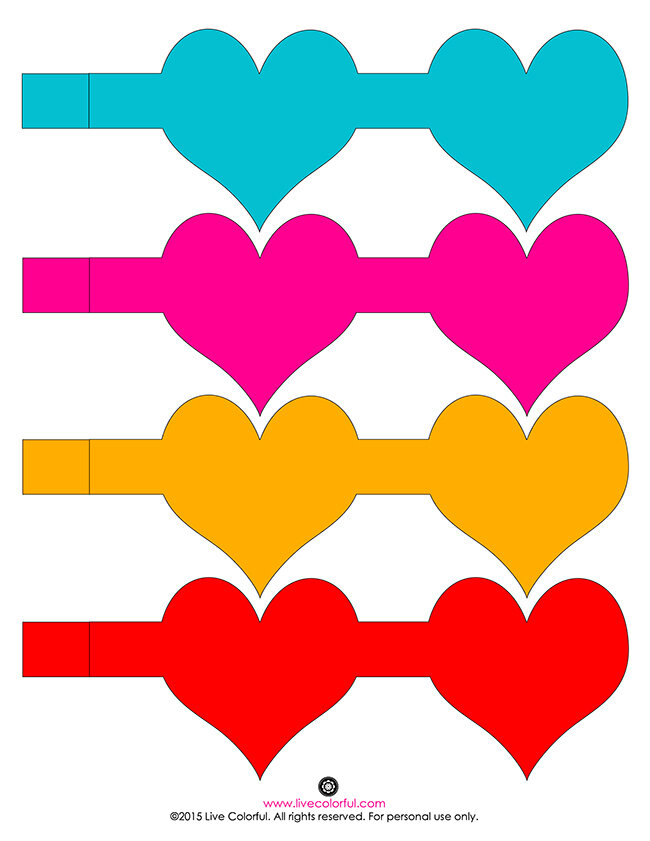
DIY: Make a 3D Heart Garland. Free printable | Live Colorful
How to Make a 3D Paper Heart Garland:
Download and Print: First, download the printable above. Change the preference to black and white if you have colorful paper sheets. If you’re using plain white paper, the colorful printable will do all the work for you. Just click, download, and print!
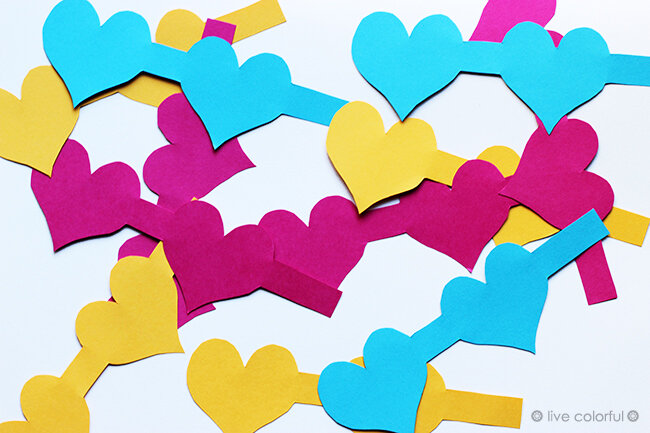
Cut the Hearts: Carefully cut each heart out by following the lines. Take your time to get nice, clean edges. The more precise you are, the better the final heart will look!
3. Fold and Glue: This is where the magic happens! To create the 3D effect, simply fold each heart in half along the vertical line. Then, apply a thin layer of glue to the small rectangle tab at the bottom of the heart. Press the two sides together and hold them for a moment until the glue sets.

4. Punch and Thread: Once your hearts are dry, use your hole punch to make one hole on each side of the heart, close to the top. Now, all you have to do is thread your ribbon or string through the holes to create your beautiful garland. You can space them out evenly or clump them together for a fun look!

You can use these adorable 3D hearts for all sorts of projects! Write a sweet message inside them, arrange them as a centerpiece around a vase, or just give them to friends as a little gift. Have fun creating!
